Discover the art of green velvet alocasia propagation with our comprehensive guide. Expand your plant collection naturally and nurture thriving foliage.
Introduction
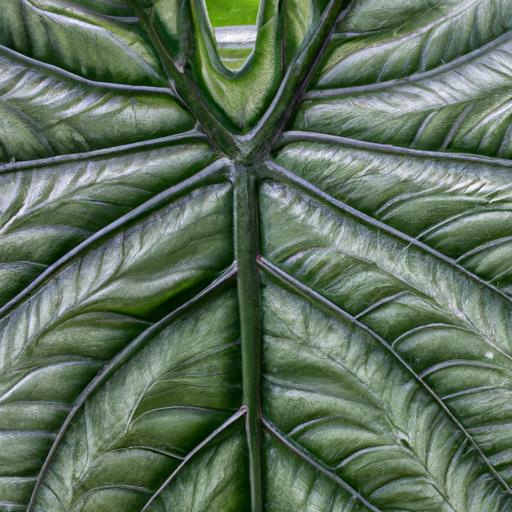
Welcome to Rowe Organic, your green sanctuary for expert tips and inspiration in organic gardening. In the world of houseplants, the green velvet alocasia has gained immense popularity for its stunning foliage and unique appearance. If you’re looking to expand your plant collection and want to learn how to propagate green velvet alocasia successfully, you’ve come to the right place.
Understanding Green Velvet Alocasia Propagation
Propagation is the process of reproducing plants, allowing you to create new individuals from an existing parent plant. It’s an exciting and rewarding technique for plant enthusiasts, offering the opportunity to grow your collection without spending a fortune. Green velvet alocasia propagation is an excellent way to share the beauty of these plants with others or simply multiply your own.
Step-by-Step Guide to Green Velvet Alocasia Propagation
Step 1: Selecting the Parent Plant and Preparing Necessary Tools
To begin your green velvet alocasia propagation journey, choose a healthy parent plant with well-developed rhizomes. Look for vibrant foliage and sturdy stems. Gather the necessary tools, including a clean, sharp knife or shears, a sterilized container for rooting, and a suitable potting m
Step 2: Identifying the Suitable Propagation Method
Green velvet alocasia can be propagated through various methods, including division, offsets, and stem cuttings. Each method has its advantages, so choose the one that suits your preferences and resources.
Step 3: Execution of the Chosen Propagation Method
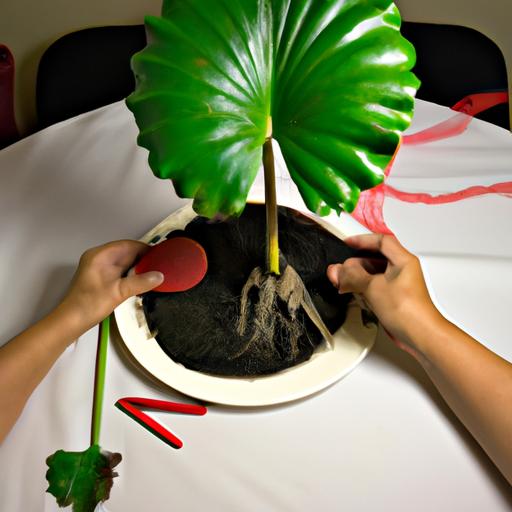
Division:
- Gently remove the parent plant from its pot.
- Carefully separate the rhizomes, ensuring each division has healthy roots and shoots.
- Plant the divisions in separate containers filled with well-draining potting m- Water thoroughly and place the containers in a warm, bright location.
Offsets:
- Identify and locate the offsets (small plantlets) that have emerged near the base of the parent plant.
- Separate the offsets from the parent plant using a clean knife or shears.
- Plant each offset in an individual pot filled with a suitable potting m- Provide adequate moisture and warmth to encourage root development.
Stem Cuttings:
- Select a healthy stem with several leaves from the parent plant.
- Make a clean, diagonal cut just below a node.
- Remove any lower leaves, leaving only a few at the top.
- Dip the cut end in a rooting hormone powder (optional).
- Plant the cutting in a container filled with a well-draining potting m- Place the container in a warm, humid environment and mist regularly.
Step 4: Providing Proper Care and Nurturing for the Propagated Plants
- Ensure the propagated plants receive bright, indirect light to encourage growth.
- Maintain a consistent watering schedule, allowing the soil to dry slightly between waterings.
- Apply a balanced fertilizer at half-strength every few weeks during the growing season.
- Monitor the plants for pests and diseases, taking prompt action if necessary.
- As the propagated plants mature, gradually acclimate them to their permanent growing conditions.

Frequently Asked Questions (FAQs) about Green Velvet Alocasia Propagation
What is the best time for propagation?
Green velvet alocasia propagation can be done successfully throughout the year. However, spring and early summer are ideal as the plants are actively growing.
Can green velvet alocasia be propagated in water?
While water propagation is possible for some plants, green velvet alocasia prefers well-draining soil. It is best to use the division or cutting methods described earlier.
How long does it take for the propagated plant to establish roots?
The time taken for the propagated plant to establish roots can vary depending on the method used and environmental conditions. On average, it may take several weeks to a couple of months.
Are there any specific care requirements for propagated plants?
Propagated green velvet alocasia plants require similar care to mature plants. Provide bright, indirect light, proper watering, and occasional fertilization. Keep an eye out for any signs of stress or nutrient deficiencies.
Can propagated green velvet alocasia be directly planted in the ground?
It is advisable to allow the propagated plants to establish a strong root system in individual pots before transferring them to the ground. This ensures better survival rates and allows for easier monitoring of their growth.
Conclusion
In conclusion, green velvet alocasia propagation is a valuable technique for expanding your plant collection and sharing the beauty of these magnificent plants. By following our step-by-step guide, you can successfully propagate green velvet alocasia through division, offsets, or stem cuttings. Remember to provide proper care and nurture the propagated plants, ensuring they receive adequate light, water, and nutrients.
At Rowe Organic, we believe in the joy of organic gardening and the rewards it brings to your life. Propagating green velvet alocasia is just one way to cultivate, nurture, and grow naturally. So why not embark on this journey and experience the satisfaction of watching your plant family flourish?
Visit our website Rowe Organic for more expert tips, inspiration, and information on all things organic gardening. Expand your knowledge, explore new possibilities, and create your green sanctuary with Rowe Organic – your trusted source for a vibrant and sustainable garden.