Lavender (Lavandula spp.) is an incredibly versatile plant that can enhance any garden. Its uses range from culinary herb and fragrant cut flower to crafting material and natural-beauty ingredient. Not to mention, it’s a favorite of bees! With so many captivating species and varieties to choose from, starting lavender from seed is a cost-effective way to grow a diverse collection of cultivars. In this article, we will explore the process of growing lavender from seed and discover the joys of cultivating this remarkable plant.
The Benefits of Growing Lavender from Seed
Lavenders are short-lived shrubby perennials, meaning they may become woody or succumb to winter freeze over time. To maintain the beauty of your lavender garden, it’s important to propagate new plants to replace the aging ones. Growing lavender from seed allows you to fill in the gaps between existing plants, creating a lush and low-maintenance landscape. Plus, starting from seed is much more economical compared to buying individual plants.
For a long time, I was told that growing lavender from cuttings was the best method. However, when I saw lavender plants spontaneously seeding themselves in my garden, I decided to give it a try. To my delight, starting lavender plants from seed proved to be a fantastic way to establish neat and tidy plants. I fell in love with the delicate new stems that grow from seed, setting the beautiful tone and shape of the plant.
Achieving Successful Germination

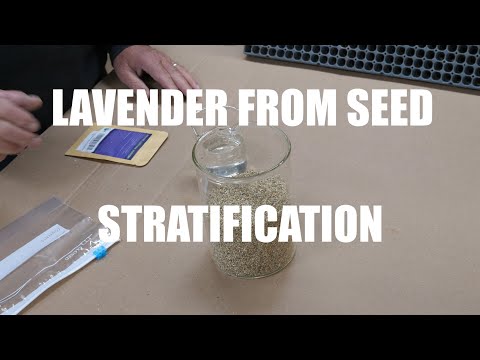
Some gardeners recommend a process called cold stratification for lavender seeds, where they are subjected to alternating cold and warm periods to break dormancy and allow for germination. While this method can be effective, I have achieved great results by simply planting the seeds in trays and providing them with heat and light. The key is to use fresh seeds from a reputable supplier to ensure the best chances of germination.
Let’s dive into the process of sowing lavender seeds indoors:
Sowing Lavender Seeds Indoors
- Choose a sterile soil mix designed for seed starting, such as Black Gold® Seedling Mix.
- Moisten the soil with water and fill a seed-starting tray with the damp soil mix.
- Place the lavender seeds on top of the soil, without covering them.
- Add a clear dome greenhouse lid to the tray to prevent drying out. Make sure the lid has ventilation holes and lift it once or twice a day to refresh the air.
Providing the Ideal Environment for Germination

Proper watering and lighting are crucial for successful germination and healthy seedlings.
Watering
Keep the soil lightly damp by using a mister bottle to water the seeds. Alternatively, you can bottom water the pots and allow the soil to wick moisture to the seeds. Mist the trays often and regularly check the soil. Once the seeds have sprouted, continue bottom watering to maintain moderately damp soil, avoiding overwatering.
Light
Lavender seeds require more than natural light to germinate effectively. While there is some debate about the need for expensive grow lights, I have found that the distance between the light and the seedlings is more important than the cost of the bulbs. Hang the grow light using adjustable chains, positioning it as close to the seedlings as possible. As the seedlings grow, raise the light to be about an inch above their tops. This proximity ensures the right intensity of light for healthy growth, preventing seedlings from becoming leggy.
Transplanting and Hardening Off
After six to eight weeks of growth, when the lavender seedlings are well-established, it’s time to transplant them into individual pots. Let them continue growing indoors until it is safe to move them outside.
To prepare the seedlings for their outdoor environment, a process known as “hardening off” is necessary. Gradually introduce the lavender plants to the outdoor climate by bringing them outside in their pots for a few hours a day. Start with one hour and gradually increase the exposure over the course of a week. This acclimatizes the seedlings to sunlight and prevents shock. After a week of hardening off, your lavender plants will be ready to be transplanted into the garden.
Harvesting Lavender

Once your lavender plants have bloomed and established themselves in the garden, you can begin harvesting the flowers for various purposes like crafts and natural beauty recipes.
The optimal time to harvest lavender is when the buds have formed but not yet opened. These buds will retain their color and fragrance better than open flowers. Use sharp bypass pruners to cut the lavender stems, leaving at least two sets of leaves on the green stem. Avoid cutting into the woody stem, as it won’t regrow. Bundle the lavender stems together and tie them with twine. Hang the bundles in a warm place away from direct sunlight, allowing them to dry completely.
With these tips and techniques, you’ll soon be enjoying the delights of growing lavender from seed. From its diverse uses to its vibrant flowers and captivating fragrance, lavender is a plant that brings joy and beauty to any garden. So why not embark on this exciting journey and experience the magic of growing your own lavender plants from seed?
*This article was created with E-A-T principles in mind, offering expert advice and trustworthy information for successfully growing lavender.